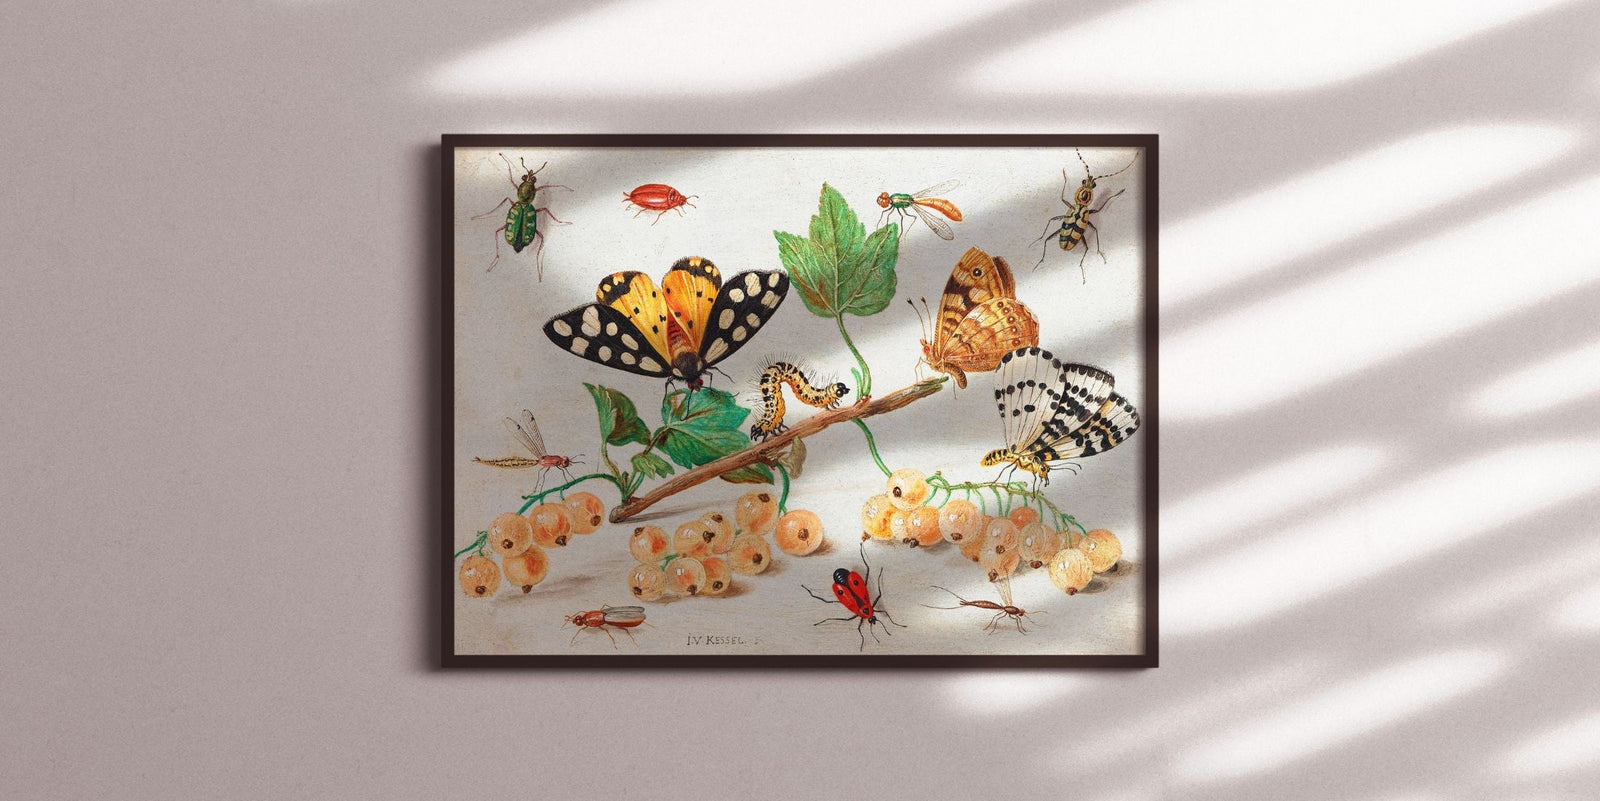
Mastering the Art of Framing Fine Art Prints: A Step-by-Step Guide
Framing fine art prints is a meticulous and rewarding process that enhances the beauty and longevity of your cherished artworks. Whether you've acquired limited edition prints, digital reproductions, or your own creations, a well-chosen frame and proper framing techniques can elevate your artwork to gallery-worthy status. In this comprehensive guide, we'll walk you through the essential steps to frame fine art prints like a pro, ensuring their preservation and visual impact.
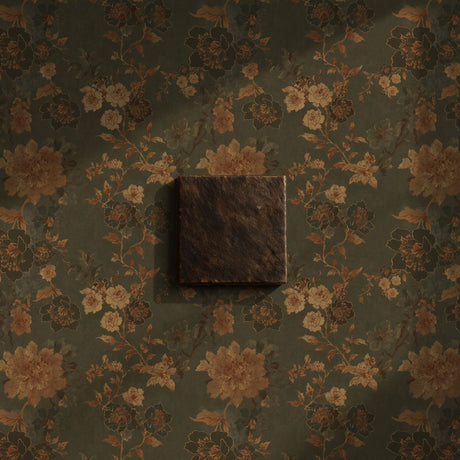
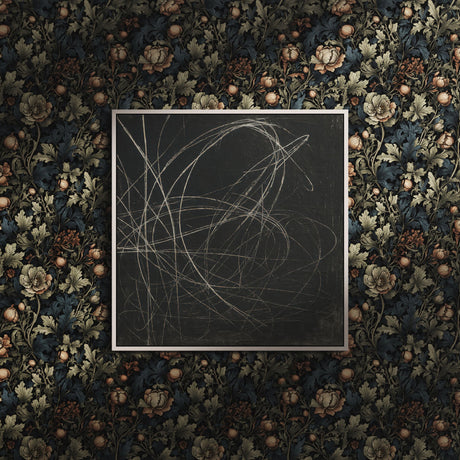
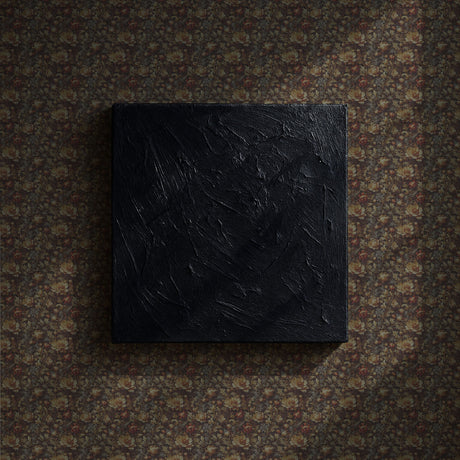
Selecting the Right Frame
Choosing the appropriate frame for your fine art print is a crucial decision that influences the overall presentation and aesthetic appeal. Consider these factors when selecting a frame:
1. Material and Finish: Frames come in various materials, such as wood, metal, and acrylic. The finish—whether it's matte, glossy, or textured—should complement the print and the room's decor.
2. Style and Design: The frame style should enhance the artwork's character and style. Classic, ornate frames may suit traditional pieces, while minimalist frames work well for contemporary art.
3. Conservation Quality: Opt for acid-free and archival-quality materials to prevent yellowing, fading, and deterioration over time.
4. Size and Proportion: Choose a frame size that provides adequate space around the print, allowing the artwork to breathe. A mat (also known as a mount) can create a visual buffer between the print and the frame.
Gather Your Supplies
Before you begin framing, ensure you have the necessary tools and materials:
- Fine art print
- Frame
- Mat (optional)
- Acid-free mounting tape or corners
- Backing board
- Glass or acrylic glazing
- Hanging hardware (hooks, wire, or D-rings)
- Acid-free paper (for dust cover)
- Dust cloth and gloves (to prevent fingerprints)
Step-by-Step Framing Process
1. Prepare Your Workspace
Choose a clean, well-lit area to assemble your frame. Lay down a soft cloth to protect the print's surface and wear gloves to prevent smudging.
2. Secure the Mat (Optional)
If using a mat, carefully position the print on the mat board. Use acid-free mounting tape or corners to secure the print in place. Make sure the print is centred and aligned.
3. Mount the Print
Place the mat with the secured print onto the backing board. Attach the print to the backing board using acid-free mounting tape or corners. Ensure the print is flat and secure.
4. Insert Glazing
Place the glass or acrylic glazing over the mounted print. Make sure it's clean and free of dust or smudges. The glazing protects the print from dust, UV rays, and physical damage.
5. Assemble the Frame
Carefully slide the mounted print with the glazing into the frame. Gently press it down to ensure it fits snugly. If the frame has clips or tabs, secure them in place to hold the components together.
6. Add Backing Board
Insert the backing board into the frame to enclose the artwork. Ensure that the backing board fits securely and that the print is properly sandwiched between the glazing and backing.
7. Seal the Frame
Secure the frame's backing using appropriate hardware, such as flex tabs or spring clips. These keep the components tightly sealed and prevent dust and moisture from entering.
8. Attach Hanging Hardware
Depending on your frame's design and orientation, attach hanging hardware such as D-rings, wire, or sawtooth hangers. Ensure the hardware is properly anchored and can support the frame's weight.
9. Dust Cover
Cut a piece of acid-free paper to the size of the frame's back. Attach it using acid-free tape to create a dust cover that protects the back of the artwork.
Tips for Success
- Handle the print with care to avoid fingerprints and damage.
- Use acid-free and archival-quality materials to ensure the artwork's preservation.
- Consider using a mat to create a visual buffer and enhance the artwork's presentation.
- Use gloves to prevent transferring oils from your hands to the print.
- Regularly inspect the framed artwork for signs of deterioration, such as yellowing or warping.
Display and Enjoy
Framing fine art prints is a labour of love that culminates in beautifully presented artwork. Once your artwork is framed and ready to display, choose an appropriate location that avoids direct sunlight and extreme humidity. Whether you're creating a gallery wall, showcasing a single statement piece, or preserving a treasured memory, a well-framed fine art print adds a touch of sophistication and elegance to your space. With proper care and attention to detail, your framed print will continue to captivate and inspire for years to come, creating a lasting impression on all who admire it.
Read More: How to Use a Room Size Calculator