How to Vet a Wallpaper Installer (and Avoid a DIY Disaster in Disguise)
Hiring a wallpaper installer should make your life easier, and in most cases, it does. But the truth is, not all “professionals” have the same level of skill or experience....
Enjoy 10% off your first order, and stay in the loop as our new paper range drops soon.
SMART DESIGN STARTS WITH SAMPLES
Confirm scale, color, and texture with our Samples First Policy.
NEW PAPERS: A new era of papers is coming soon. For inquiries about our legacy range, please contact us.

Hiring a wallpaper installer should make your life easier, and in most cases, it does. But the truth is, not all “professionals” have the same level of skill or experience....
Fire Safety Classifications for Wallpaper: UK, European, American, & Australian Standards Explained When choosing wallpaper—especially for commercial spaces like hotels, restaurants, or offices—understanding fire safety ratings is essential. Different regions...
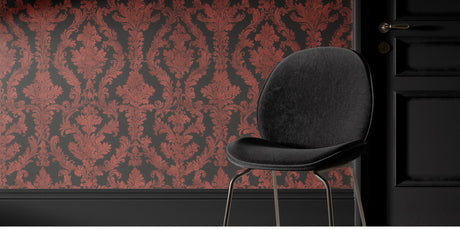
Looking to refresh your bathroom? Wallpaper is a game-changer that can instantly transform your space with style and personality. In our latest blog post, we explore five stunning bathroom wallpaper...
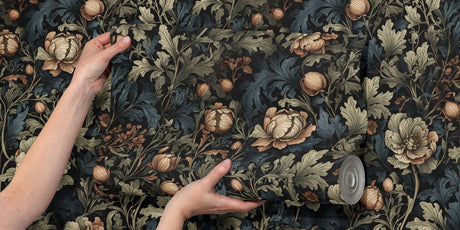
Looking to elevate your living room decor? Dive into our latest blog post where we share inspiring wallpaper ideas that can transform your space. Whether you prefer bold, statement-making designs...
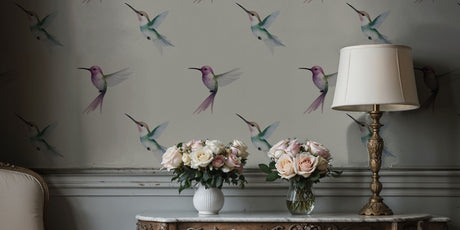
Discover enchanting nursery room wallpaper ideas to transform your baby's space into a whimsical haven. Explore designs featuring adorable rabbits, delicate hummingbirds, charming florals, and serene Japanese fish, perfect for...
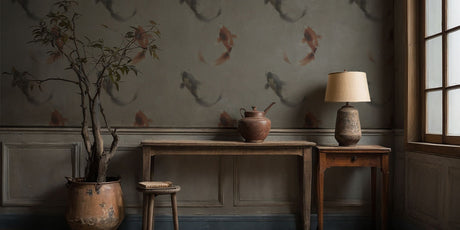
Create a tranquil retreat in your home with our Zen bedroom ideas using wallpaper. From soothing color schemes to nature-inspired patterns, explore how the right wallpaper can foster a calm...
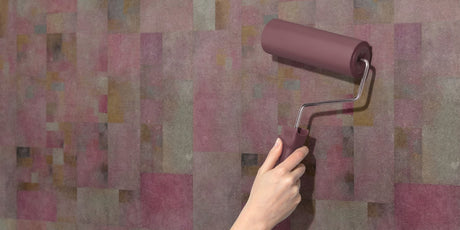
Transform your home and bedroom into serene, stylish spaces with our expert tips on refreshing your interior decor. From choosing the perfect wall art to selecting soothing color palettes, discover...
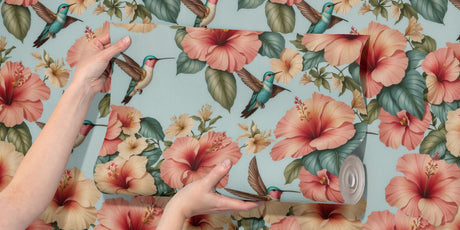
Discover the benefits of PVC-free wallpaper in our latest blog post. Learn how this eco-friendly alternative can enhance your home decor while promoting a healthier living environment. We delve into...
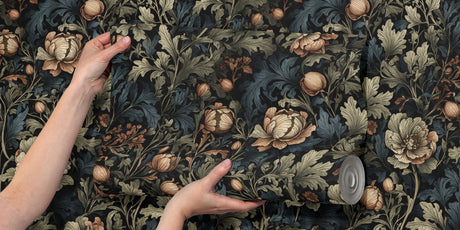
Transform your guest bedroom into a cozy and inviting retreat with the perfect wallpaper. From the serene beauty of botanical designs to the timeless charm of vintage florals, discover five...

Cotton linters, once overlooked remnants of the cotton industry, have emerged as eco-friendly, versatile fibers shaping diverse sectors. From fine art paper to pharmaceuticals, their impact on various industries highlights...

Fine art paper made from 100% cotton linters not only offers artists a superior canvas for their masterpieces but also signifies a commitment to environmental stewardship. By choosing this eco-friendly...

Like any profession, interior design has its unique set of advantages and challenges. In this comprehensive guide, we'll explore the various aspects of an interior design career, helping you decide...

These top 10 interior designers in the USA have not only shaped the industry but have also left an indelible mark on the way we perceive and experience our living...